Ads come in all shapes, sizes, and colors, but what if you can’t find the right ad layout for your website? With CPAlead, you can create it!
The beauty of our Custom Ad option is that we will allow you to display our offers how you want. For instance, you can display 3 offers on top that have a large image, title and description, and then display 10 offers below that using smaller images and fonts for our ads. You can change the background color to any color you want, same with fonts, the possibilities are endless.
Custom ads payout about 3-10 cents a click when your visitor clicks on an offer. Please avoid clicking on your own offers as this is very easy for us to detect and you will get banned without pay.
To create a Custom Ad, please follow these steps:
1. Sign In
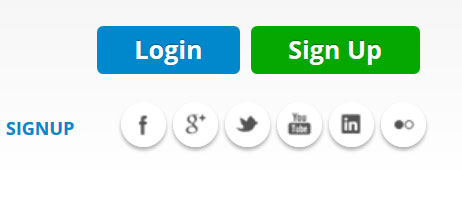
Visit https://www.cpalead.com and click the login button in the upper right corner. If you don’t have a CPAlead account, click on the Sign Up button.
2. Navigate to Custom Ad
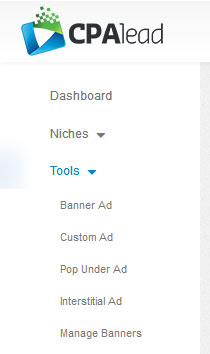
Once signed in, on the CPAlead publisher dashboard, click on the Tools menu on the left then select ‘Custom Ad’.
3. Choose Rows and Columns
You will see your first option for creating a Custom Ad is to choose a banner ad size. This is where you can set the number of rows and columns of ads to display. For instance, if you select 4 rows and 3 columns, your custom ad will show a total of 12 ads at a time inside of your custom ad. Once you have selected the number of rows and columns you want, click ‘Generate Code’.

4. Set iFrame Size
This it the total are of your ad. If you would like your ad to appear as a full window, then select 100 x 100 and then from the drop down menu change ‘px’ to ‘%’. This means your ad size will be 100% x 100% which is the size of a full window. If you want to embed your ad inside of your webpage, then you will want to define the size of iFrame to match the space available for it on your website. You may need need to tweak the size a few times to get the right size for you.

5. Set Banner Name
The banner name is for your own reference so you can name it whatever you want. This name will help you identify the banner from your ‘Manage’ menu.

6. Editing HTML
You will see the HTML code will display according to how many rows and columns you selected. To see what your ad currently looks like, click on ‘View Preview’. If you don’t like the layout, you can totally customize it’s layout using our HTML editor. This feature is reserved for our more advanced publishers. If you not comfortable editing HTML or CSS, then please don’t use this feature.
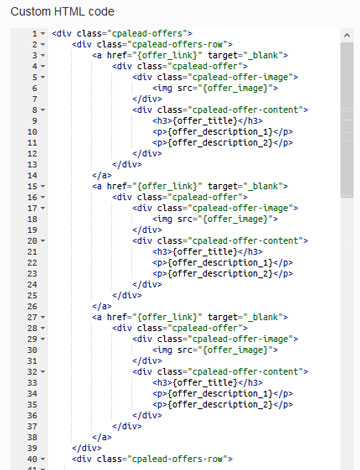
Within the HTML editor, you will see the variables we use to call the Offer URL, Offer Image, Offer Title, Offer Description Line 1 and Offer Description Line 2. You are free to exclude or include any of these variables, but if you exclude one variable in one offer, you have to exclude it in all of the other offers within this ad, otherwise the information displayed will NOT be accurate. For instance, if you remove the title from the 1st offer and not the 2nd offer, then the 2nd offer will display the title from the 1st offer.
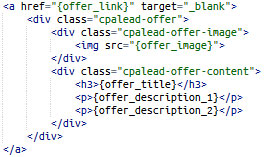
You will also need to always make sure that the {offer_link} variable wraps each offer in a ahref so the entire offer is clickable. Alternatively you could also create your own button and use that offer’s {offer_link} for that button only. You can only use {offer_link} once per offer.
Another bit of caution: Don’t click ‘Generate Code’ again as it will overwrite all of your HTML and CSS changes.
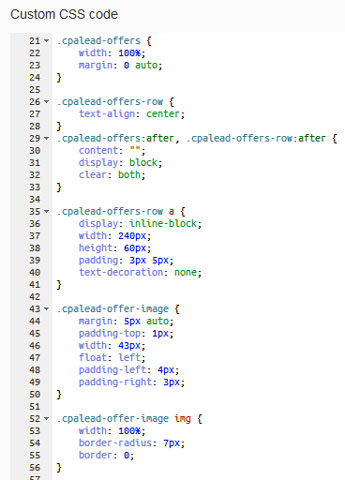
7. Editing CSS
You can edit the CSS of your ad to change the font size, font color, font type, background color, link color, image size, and so on. We included this option so you can create an ad that matches your website perfectly. The more seamless the ad looks on your website, the more genuine it will appear to your visitors which increases the chance of them clicking on an offer within your ad. If you don’t know how to edit CSS or HTML, we recommend watching YouTube tutorials and learning about it. We recommend learning CSS first, then once you get comfortable enough, learn HTML.
8. Save and Place
Click ‘Save Ad Banner’ to save your Custom Ad. After your ad is saved, you will be sent to the Manage menu. On the manage menu you will see all ads you have created in the past including your most recent ad. Find the ad you just created, and click on ‘Get Code’. Copy this code and then paste it in the area you want it to display on your website.


Extra Tips
You can place as many banners on a page as you want.
Offers only appear inside the ad if there are offers available to your visitor’s country and device. If you don’t see any offers within your custom ad, chances are you live in a country that we currently don’t have any offers for. Don’t worry, we will still display offers to your visitor’s.
Don’t click on your own offers. It’s very easy for us to detect click fraud and you will be banned for such activity.
If you want a more aggressive way to get clicks from your visitors, check out our interstitial and pop under ads.
If you liked this custom ad tutorial, please check out our Custom Ad tutorial video on YouTube and give us a like!
